
Last updated November 2, 2026
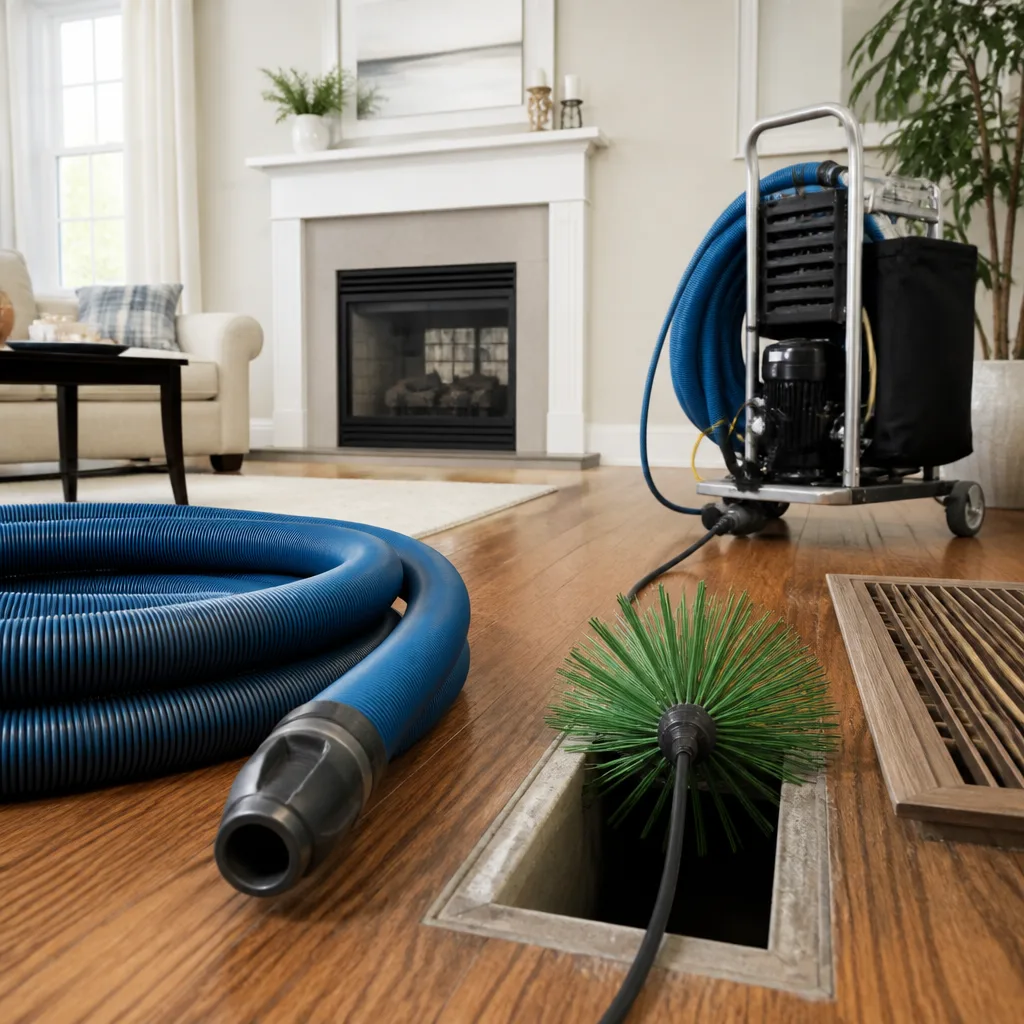 Whole-home duct cleaning
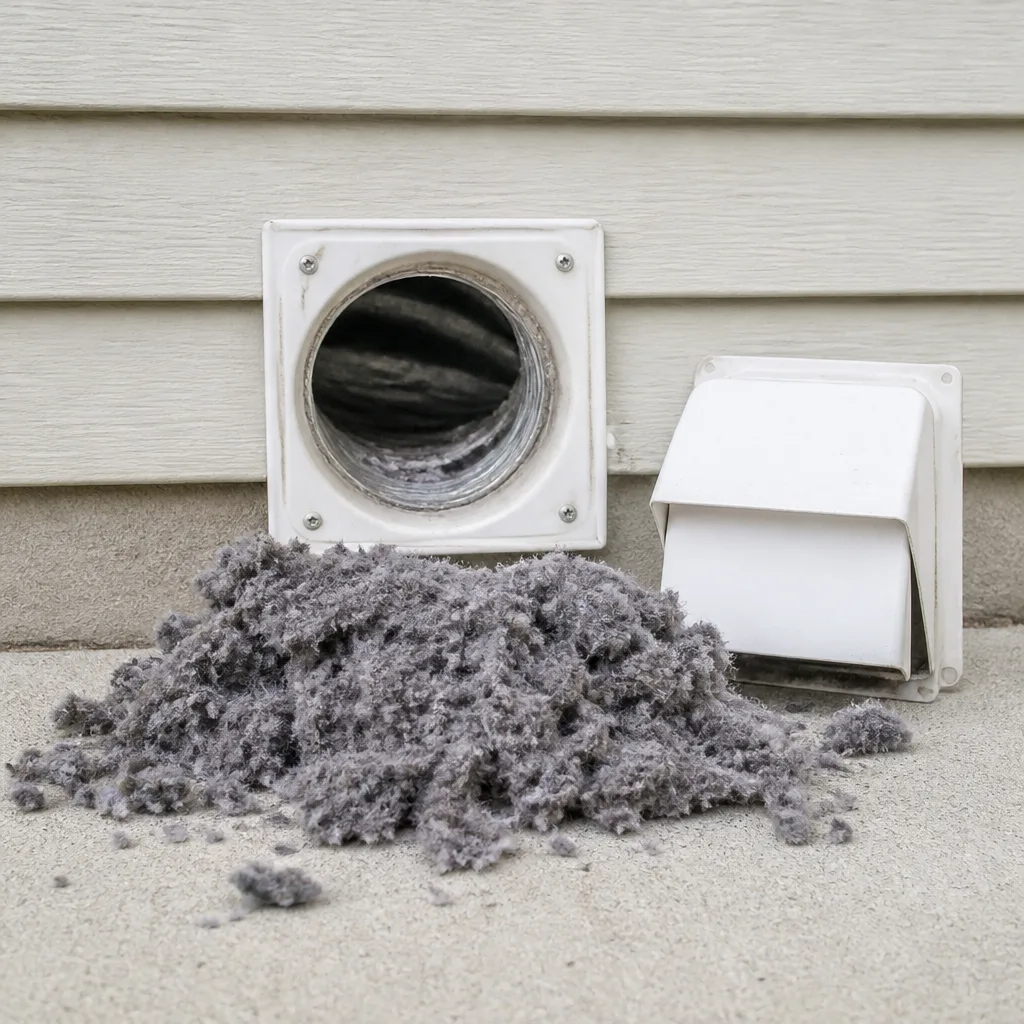 Dryer vent cleaning
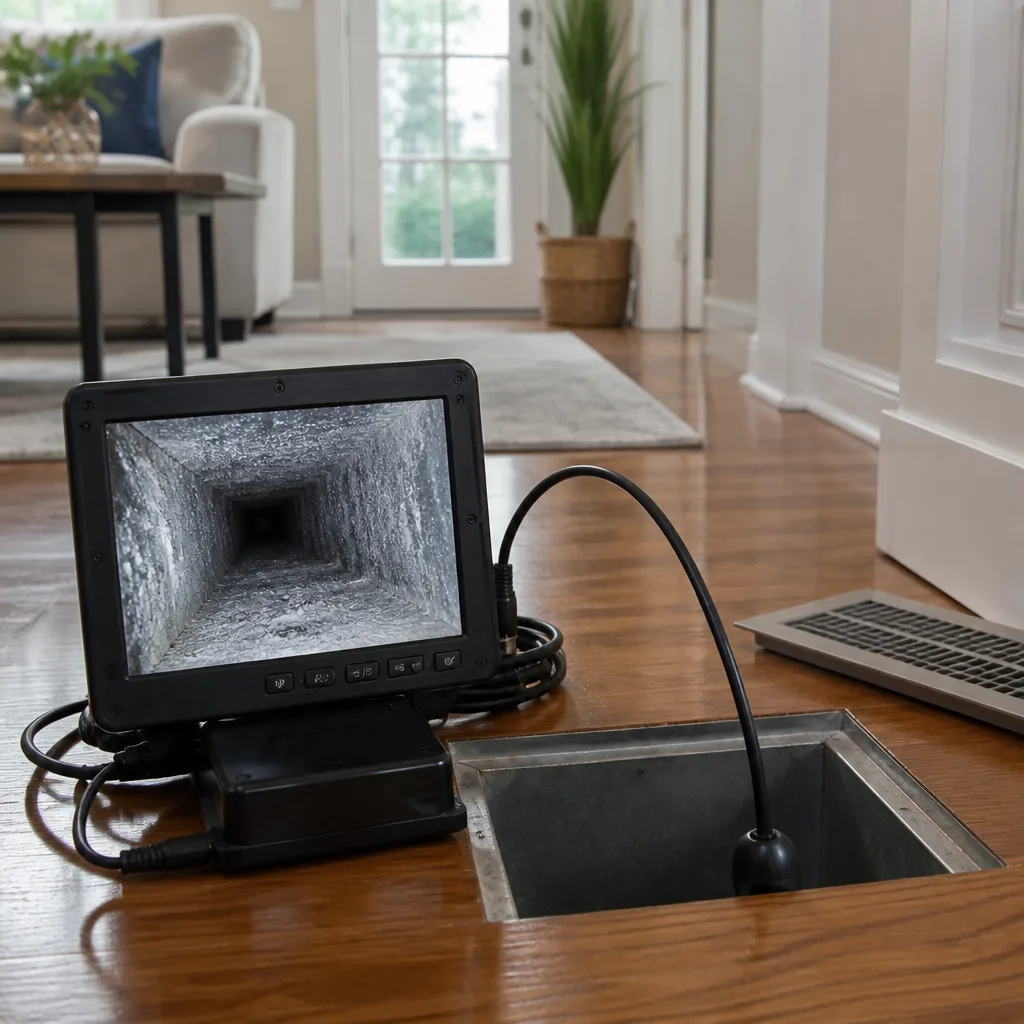 Camera inspection
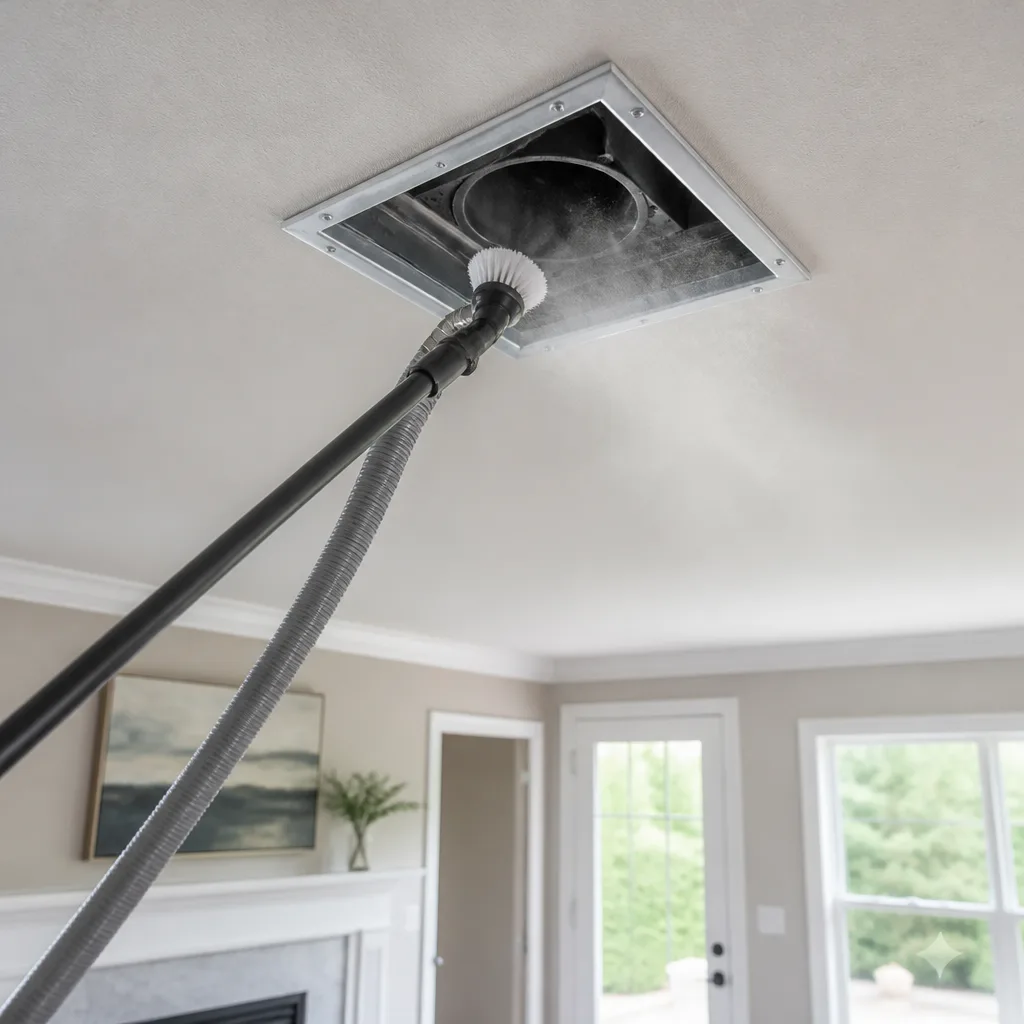 Sanitizing & deodorizing
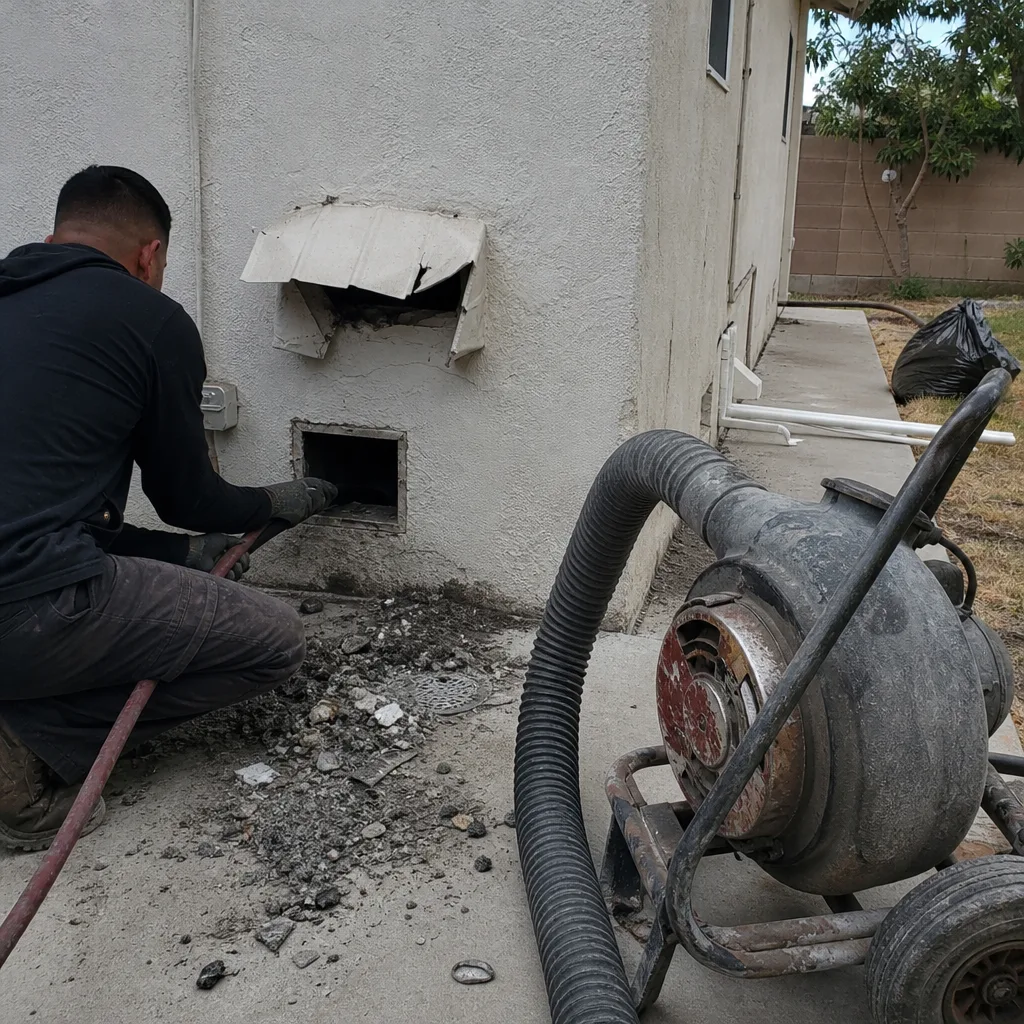
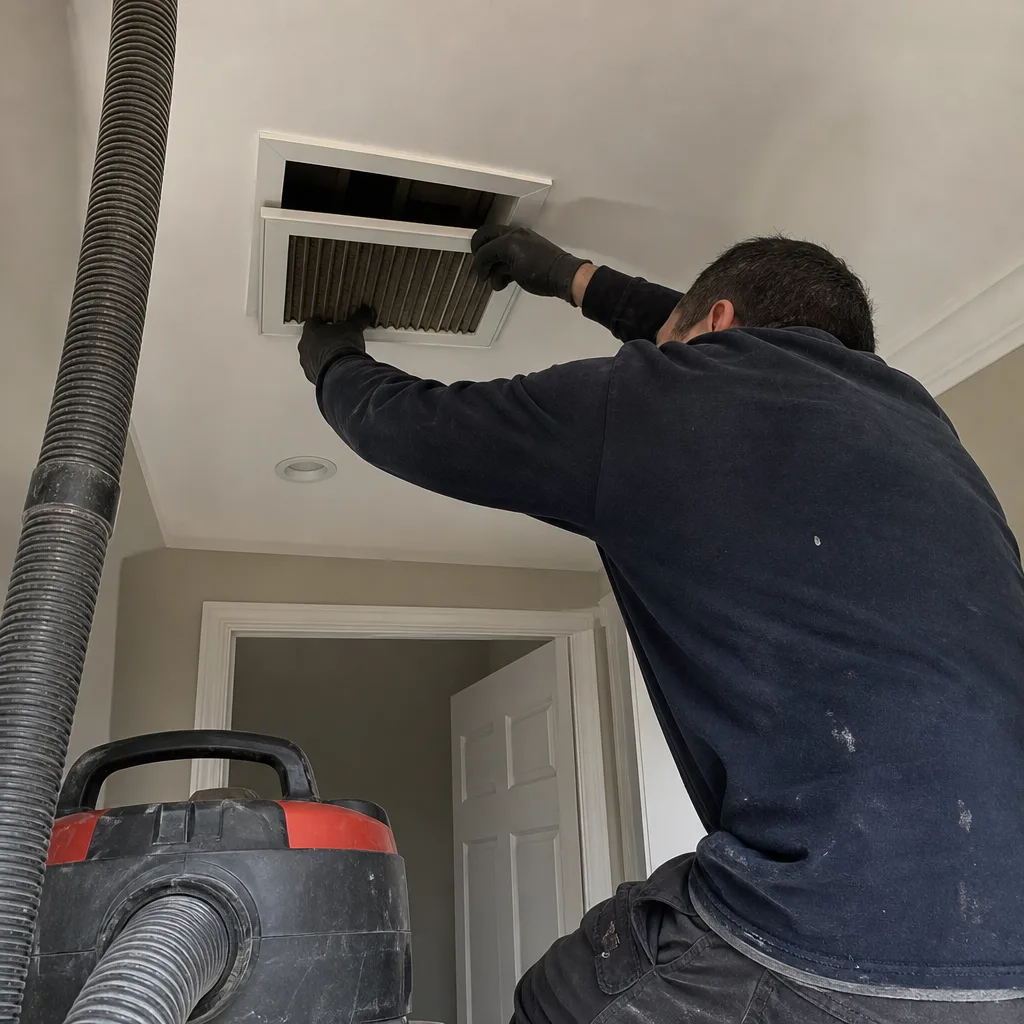
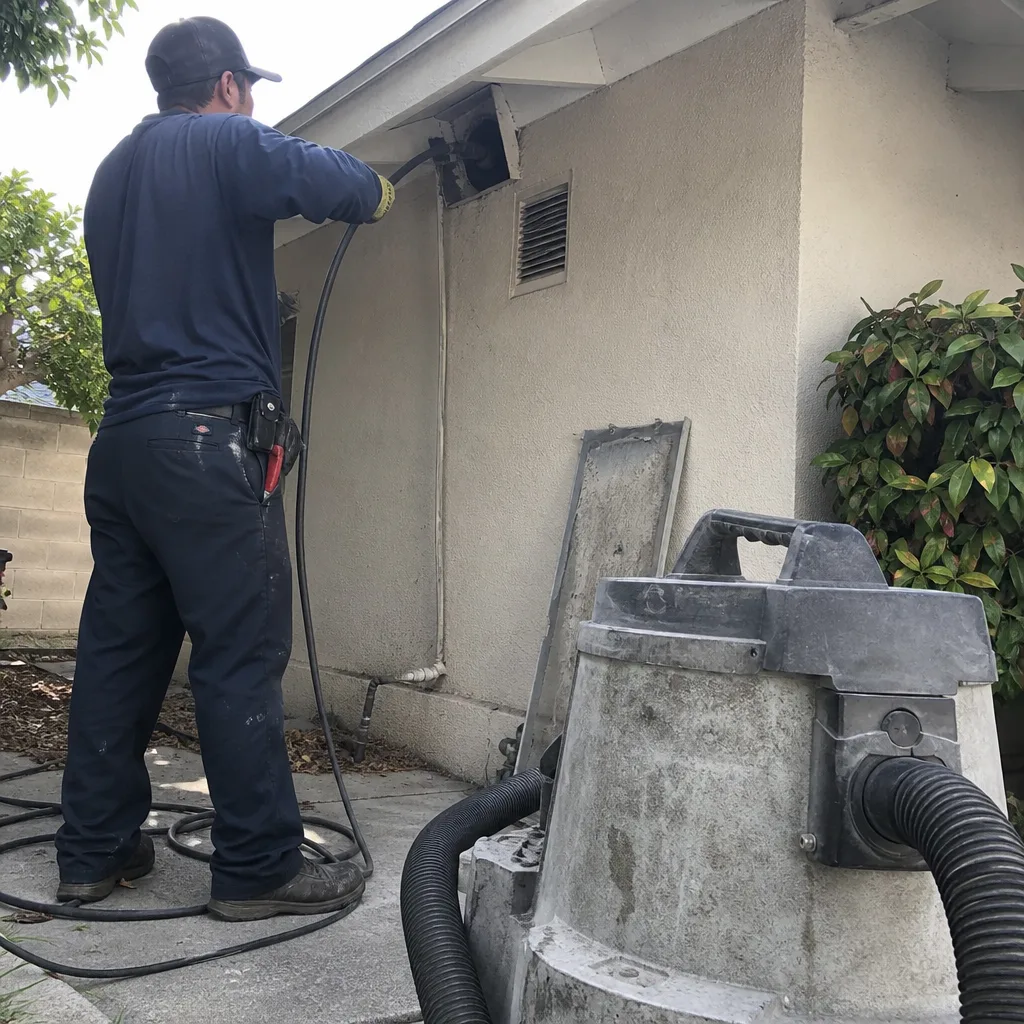
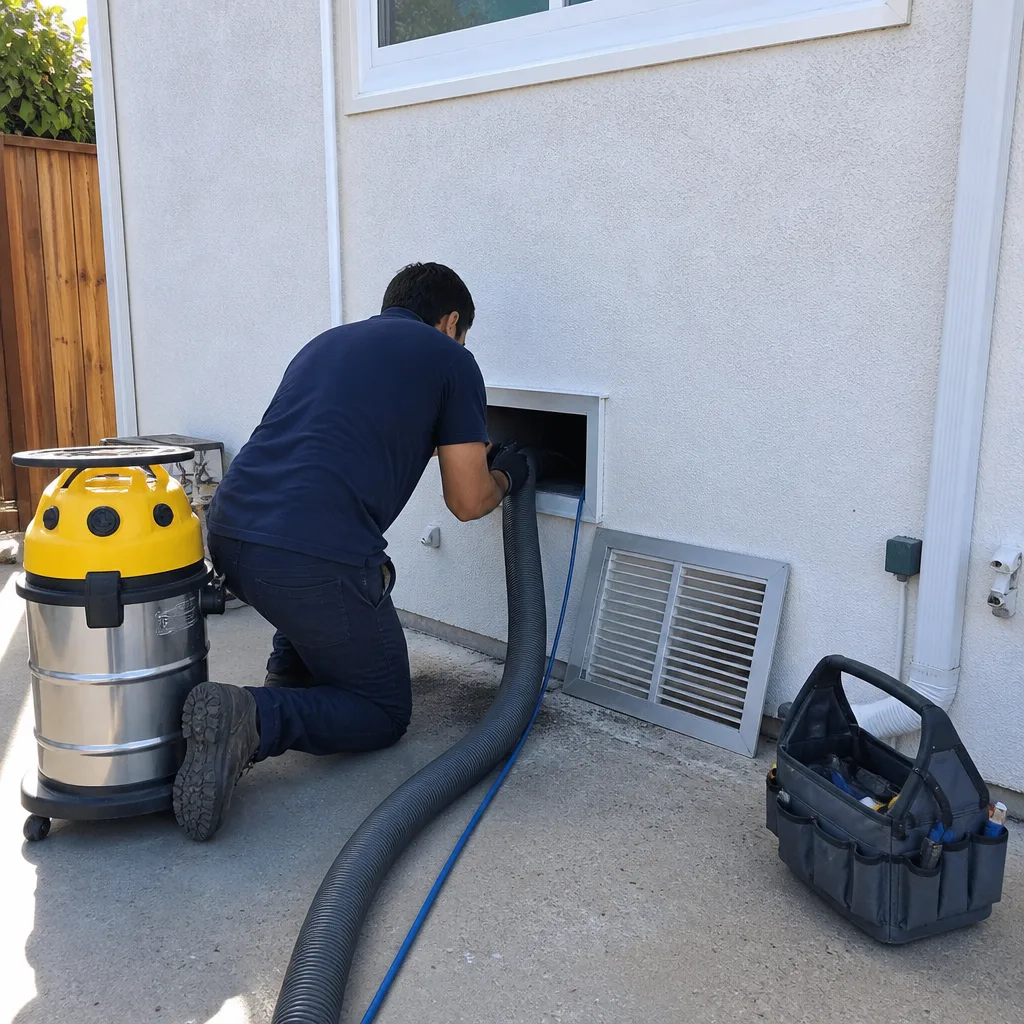
Whole-system duct and dryer vent check with before-and-after photos - you see exactly what came out of your vents
That "$99 whole-house special" is a bait ad - the real number appears once they are in your hallway, or the "clean" is a shop-vac at the register. We photograph the inside of your ducts before and after instead.
Air Duct Cleaning Troubleshooting: Common Problems and How to Fix Them
Most homeowners who call us in Glendora don’t actually know what’s wrong with their ducts. They know the symptom: a musty smell in the hallway, a bedroom that never cools down, dust settling on furniture two days after they wipe it. What they don’t know is that a significant portion of these problems have nothing to do with dirty ducts at all. A loose return-air connection, a failed coil drain pan, a disconnected branch line in the attic. These are mechanical failures, not cleanliness issues. This guide maps what you’re seeing, smelling, and feeling to what’s actually happening inside your duct system, so you can describe the real problem when you call for help, and avoid paying for a cleaning that won’t solve it.
Quick Answer
Air duct problems fall into three categories: contamination inside the ducts, air leaks at connections and seams, and airflow restrictions caused by dampers, collapsed sections, or undersized returns. The fix depends on which category you’re dealing with. Odor that returns within 48 hours of cleaning points to a coil, drain pan, or insulation issue, not dirty ducts. Airflow problems in a single room usually trace back to one specific connection or damper, not the whole system being dirty. A full-system cleaning is the right call for debris accumulation, mold-adjacent dust buildup, or post-construction contamination, but mechanical failures need repair work, not vacuuming.
Styles & brands we work with
- Whole-home duct cleaning
- Dryer vent cleaning
- Camera inspection
- Sanitizing & deodorizing
Table of Contents
- Odor Symptoms: What Each Smell Actually Means
- Uneven Airflow: Supply-Side vs. Return-Side Restrictions
- Debris at Registers: Duct Contamination or Filter Bypass?
- The One-Room Mystery: When a Single Space Won’t Behave
- The Re-Cleaning Decision Tree: Clean Again or Call Another Trade?
- Post-Cleaning Issues: What’s Normal and What Isn’t
- What You Can Check Yourself vs. What Needs a Pro
- Common Mistakes to Avoid
- When to Call a Professional
- Frequently Asked Questions
Odor Symptoms: What Each Smell Actually Means
Odor is the number one reason homeowners in Glendora call about their ducts, and it’s also the most commonly misdiagnosed symptom. The smell coming from your registers is actually a diagnostic tool if you know how to read it. Different odors implicate different components, and treating all of them with a duct cleaning is a waste of money when the source is outside the ductwork entirely.
Musty or Damp Odor
A musty smell that persists or returns shortly after cleaning is almost never in the duct material itself. Galvanized steel and flex duct don’t absorb moisture or hold odor. What does hold moisture is the evaporator coil and its drain pan, which sit inside the air handler or furnace cabinet, not in the ducts. In Glendora’s hot summers, the coil condenses gallons of water daily. If the drain line clogs or the pan cracks or the pan doesn’t slope properly, water pools and grows microbial gunk. That’s the smell. No amount of negative air pressure or rotary brushing inside your ducts removes odor from a coil. That’s an HVAC service call. If the musty smell is strongest at the air handler closet or crawlspace, you’ve likely found your culprit.
A second musty-odor source is wet duct insulation. When flex duct or fiberglass duct board gets wet from roof leaks, plumbing leaks, or condensation, the insulation itself breaks down and holds odor. In that case, the affected section needs replacement, not cleaning. Our Air Duct Repair in Glendora service handles exactly this scenario: we identify the wet section, cut it out, and install a properly sealed replacement.
Burning or Electrical Smell
This one is urgent. A burning odor when the system runs usually points to a failing blower motor, a seized capacitor, or overheated wiring inside the air handler. In rare cases, it’s friction on a blower wheel rubbing its housing. Duct cleaning does not address any of this. Shut the system off and call an HVAC technician. If you smell gas in addition to burning, leave the house and call the utility company. We say this without drama: burning smells are the one symptom on this page that should never wait.
Chemical or Paint Smell
A chemical odor usually appears after duct sealing work, new flex duct installation, or fresh paint near a return grille. The off-gassing of adhesives and mastic is the cause, and it typically fades within a few days to a week. If the smell persists beyond that, check whether the return is pulling air from a space with stored chemicals: paint cans, cleaning supplies, even nail polish remover in a bathroom adjacent to a return chase. Move the source and the smell resolves. One often-overlooked issue in Glendora homes built in the 1950s and 1960s is deteriorating duct mastic containing older compounds. If the chemical smell is specific to certain registers and never fades, the ducting itself may need replacement.
Dead Animal Smell
This is a specific, unforgettable smell. Rodents and birds occasionally enter duct systems through disconnected fittings, open gable vents, or damaged soffits and die inside. The smell is localized to one or two registers typically. Cleaning the full system won’t help if the carcass is sitting in a branch line. You need removal and then verification that entry points are sealed. Our team has handled this in Air Duct Cleaning jobs where we found the source during inspection. The homeowner called for odor, and the actual problem was a disconnected dryer vent fitting letting critters in.
Uneven Airflow: Supply-Side vs. Return-Side Restrictions
When rooms in your home heat or cool unevenly, the duct system’s airflow balance has a problem. The first diagnostic step is determining whether the restriction is on the supply side (air leaving the system into rooms) or the return side (air being pulled back to the air handler). You can do this without any instruments.
How to Identify a Supply-Side Restriction
- Turn your system fan to ON (not auto) at the thermostat so it runs continuously while you check.
- Hold a tissue near each supply register. Note whether it moves strongly, weakly, or not at all. Compare between rooms.
- Check the weak registers individually. If one room has weak flow while others are strong, the restriction is downstream of the main trunk: a closed or stuck damper, a disconnected branch, a kinked flex duct, or a collapsed duct section.
- Remove the register grille and feel inside. If you can reach a damper, check its position. A damper handle that’s perpendicular to the duct is closed. Sometimes a previous owner closed a damper to reduce flow to an unused room, and no one ever reopened it.
- Check the flex duct in the attic or crawlspace. Look for sharp bends, crushed sections from stored boxes, or duct that has slipped off a fitting entirely. In Glendora’s attic heat, flex duct can also separate at the inner liner while appearing intact outside.
How to Identify a Return-Side Restriction
Return-side problems present differently. If returns are undersized or blocked, the system starves for air. You’ll notice: doors that slam shut on their own when the system runs, a whistling sound at door undercuts, weak supply flow in nearly every room rather than one specific area, and higher energy bills without an obvious cause. When a system can’t pull enough air back, it can’t push enough air out. Nothing feels strong anywhere.
Common return-side culprits include: return grilles blocked by furniture or curtains (the homeowner set a bookshelf in front of the return and forgot), collapsed return flex duct in the attic, disconnected return plenums pulling attic air instead of house air, and a single central return serving a home that really needs two. If you have one large return in the hallway and bedrooms are always stuffy, your system may simply be under-returned. In older Glendora homes with added-on rooms, this is especially common: the original system was sized for the original footprint, and additions just got supply lines without matching return capacity.
If this guide has you thinking your airflow issues are structural rather than cleanliness-based, you might need Air Duct Repair in Glendora rather than cleaning. A disconnected or crushed duct section is a repair job. We can scope with a camera, locate exactly what’s wrong, and fix it.
Debris at Registers: Duct Contamination or Filter Bypass?
Visible debris at supply registers is one of the most misleading symptoms in duct troubleshooting. Homeowners see dust, insulation particles, or drywall dust puffing out of a register and conclude their ducts are dirty. Sometimes they’re right. Often they’re looking at filter bypass or post-construction residue, and the fix is different.
Filter Bypass: The Silent Contaminator
Your HVAC filter only works when air actually flows through it. If the filter doesn’t fit the rack properly, or the filter rack itself has gaps, air goes around the filter instead of through it. That air carries everything from attic insulation to crawlspace dust directly into the blower, through the coil, and out your supply registers.
Here’s how to check your filter rack seal in five minutes:
- Turn off the system.
- Remove the filter. Look at the filter rack: is there a noticeable gap between the filter frame and the rack walls? A gap wider than 1/8 inch lets significant air bypass.
- Check if the filter is the right size. If someone installed a 16×20 filter in a 16×25 rack, there’s a 5-inch open slot. Fill that slot or size up.
- Look for a missing filter cover or door. Many filter racks have a cover that clips on. Without it, negative pressure pulls in whatever is nearby.
- Shine a flashlight inside the blower compartment. If you see dust caked on the blower wheel blades, filter bypass has been happening for a while.
If the filter rack is compromised, the fix is a properly fitted filter or rack repair, not duct cleaning. Once the rack is sealed and the right filter is installed, the system will gradually flush clean air through the ducts. A cleaning can help accelerate that process by removing what’s already accumulated, but it won’t solve the root cause if the filter still bypasses.
When Debris Actually Is a Duct Contamination Problem
Debris at registers points to actual duct contamination when: you’ve recently completed construction or renovation (drywall dust, sawdust in the ducts), there’s visible dust accumulation inside the supply boot when you remove the register, multiple rooms show the same type of debris consistently over weeks, or you’ve had rodents or pests that left droppings, nesting material, or food debris in the ducting. In these cases, professional source-removal cleaning is the correct response. Our process uses a Rotobrush rotary brush to mechanically agitate the duct walls while a Nikro HEPA negative-air vacuum captures loosened material before it enters your living space. The HEPA filtration on the vacuum is the difference between removal and recirculation: a standard shop-vac without HEPA simply exhausts fine particles back into the room.
The One-Room Mystery: When a Single Space Won’t Behave
One room that’s always dusty, always warm in summer, always cold in winter. The rest of the house is fine. This pattern is so consistent across the homes we service in Glendora that we treat it as its own diagnostic category. A single-room problem is almost never a whole-system dirty duct issue. It’s a component problem localized to that branch.
Dusty Room: Look for a Return Leak or a Loose Connection
A room that accumulates dust faster than the rest of the house usually has one of two issues: a return leak in that room’s wall cavity or a loose supply connection pulling attic air. Here’s the logic: if the supply duct for that room has a loose fitting or a hole, the air it delivers isn’t coming from the air handler. It’s being sucked through the gap from the attic, crawlspace, or wall cavity. That air carries whatever is in those spaces: insulation fibers, dust, pest residue. The room gets a constant infusion of unfiltered outside air.
Similarly, if the return path from that room pulls through a wall cavity that isn’t sealed, it draws dusty air from inside the framing. We’ve seen rooms where the return grille was installed over an open stud bay, and the “return duct” was just the wall cavity itself: full of decades-old dust, mouse droppings, and fiberglass particles. Every time the system ran, that cavity coughed its contents back into the room.
Warm or Cold Room: Check the Damper First, Then the Duct Run
Before you suspect anything else, find the damper. Most homes have manual dampers on branch lines near the main trunk, accessible in the attic or crawlspace. In our experience, a surprising number of “problem rooms” have a damper that’s fully or partially closed, and the homeowner has never touched it. The damper handle position tells you: parallel to the duct means open, perpendicular means closed. If the damper is open and the room still struggles, then look at the duct run itself. Kinked flex duct, a collapsed section, a duct that’s too long for the blower’s static pressure, or a branch tapped too far from the trunk can all create a weak room. A branch tapped at the end of a long trunk is the last stop for airflow and often starves.
Odor in One Room Only
Odor localized to one room points to that room’s specific supply run or the room itself. Check whether the room has a moisture source: an attached bathroom, a leaky window, a slab floor without a vapor barrier. The duct may be fine, and the smell may be coming from carpet, drywall, or a wet closet. If the duct is the source, it’s usually an insulated flex section that got wet at some point and retains a musty smell in the insulation layer. That section needs replacement.
When one-room problems turn out to be disconnected, crushed, or deteriorated duct sections, the right response is repair. Our Air Duct Repair in Glendora team has replaced more single-room branch lines than we can count, and in most cases the room’s comfort and dust issues resolved within the same week.
The Re-Cleaning Decision Tree: Clean Again or Call Another Trade?
If you’ve had your ducts cleaned and the problem persists, the instinct is to think the cleaning was inadequate. Sometimes that’s true. More often, the cleaning did what cleaning does, and the problem lives elsewhere. Here’s a decision tree to figure out your next move.
Step 1: Identify What Problem Persists
- Musty odor that returned within 48 hours of cleaning: Not a re-clean. This is a coil, drain pan, or wet insulation issue. Call an HVAC technician or have a repair specialist inspect the air handler.
- One room still doesn’t get airflow: Not a re-clean. This is a damper position, disconnected branch, or crushed duct section. Have the specific run inspected.
- Dust returning immediately after cleaning: Check the filter rack seal first. If the filter bypasses, the ducts refill with unfiltered air within days.
- Visible debris that was present before cleaning and is still present after: If the cleaning was recent and you can see the same material at the same register, the run may not have been fully accessed. A legitimate re-clean or service follow-up is warranted.
- Whole-house dust that never went away: This may be a leaky return pulling from the attic or crawlspace. An inspection with a camera will reveal it.
Step 2: Determine If It’s a Cleaning Quality Issue
If the first cleaning was done with a single vacuum on one access point and no mechanical agitation, it likely didn’t loosen the debris bonded to the duct walls. Source-removal cleaning uses mechanical agitation: a rotary brush that scrubs the duct walls while negative pressure extracts the loosened material. We use Rotobrush brush systems paired with Nikro HEPA negative-air vacuums for exactly this reason. A surface-level suction pass leaves a significant amount of material behind. If that describes your first experience, a proper source-removal cleaning is the right second step.
Step 3: If the Problem Is Mechanical, Get It Repaired
Air duct repair is not a cleaning add-on. It’s its own discipline. Disconnected fittings need to be reconnected and sealed with mastic or proper tape. Crushed sections need to be cut out and replaced. Return chases need to be sealed or lined. This work requires an inspection first to locate the problem, and it’s why we offer Air Duct Repair in Glendora as a distinct service. In many inspections, we find a combination: the ducts do need cleaning from years of accumulated material, and there’s also a mechanical failure that made things worse. Addressing both in one visit is the most efficient path.
Post-Cleaning Issues: What’s Normal and What Isn’t
After a professional duct cleaning, some homeowners experience a brief adjustment period and wonder if something went wrong. Most of the time, nothing did. Here’s what to expect and what should raise a flag.
Normal After Cleaning
- A faint “clean” or slightly mechanical smell for a few days. The brush agitation stirs up material that was resting in the ducts, and your system flushes it through. It typically fades within 48 to 72 hours.
- Small amounts of dust at registers for the first week. Loosened debris that made it past the boot during the process settles near the register and gets blown out gradually.
- Slightly different airflow pattern for a few days. If a damper was adjusted during cleaning, or if a return grille that had been blocked is now clear, the system’s balance shifts slightly and settles.
- A quieter system. Removing buildup from the blower wheel and duct walls reduces turbulence and strain. A system that runs more quietly after cleaning is a good sign, not a problem.
Not Normal After Cleaning
- Musty odor that persists or returns. As covered above, that’s a coil, drain pan, or insulation issue.
- A burning smell. This should not appear after duct cleaning. If it does, shut the system off and have an HVAC tech inspect the blower motor and wiring.
- Reduced airflow in a room that was fine before. A damper may have been left in a different position, or a duct connection may have been disturbed. A follow-up inspection will address it.
- Visible debris that keeps appearing for weeks. This suggests the filter is bypassing or the return is pulling from an unfiltered space. It’s not residual from the cleaning anymore after about two weeks.
We document every cleaning in Glendora with before and after photos so you know exactly what we found and what we removed. That transparency matters because you should be able to see the work, not just take a technician’s word for it.
What You Can Check Yourself vs. What Needs a Pro
There’s a meaningful line between what a homeowner can diagnose and what requires professional equipment and training. Crossing that line can cause expensive damage or leave a problem half-fixed. Here’s the honest split.
You Can Safely Check These Yourself
- Register and grille inspection. Remove supply registers with a screwdriver and look inside with a flashlight. You can see visible dust buildup, debris, pest evidence, and the position of any reachable damper.
- Filter check. Confirm the filter size, orientation, and seal. Replace a plugged filter. This is basic maintenance every homeowner should do.
- Visual attic or crawlspace inspection. If you have safe access, look at visible duct runs. You’re checking for crushed flex duct, disconnected fittings, visible holes, and ducts resting on sharp surfaces.
- Return grille check. Verify returns aren’t blocked by furniture or covered by rugs. Confirm the grille itself isn’t caked with dust restricting airflow.
- Thermostat fan test. Set the fan to ON and walk the house checking each register by feel. Weak airflow patterns tell you where the problem area is.
Leave These to a Professional
- Any work inside the duct system. Ducts are tight, dark, and often full of sharp edges from sheet metal seams. Reaching in blind can cause cuts that lead to infection.
- Damper adjustments in the attic. If access requires navigating trusses and insulation, the risk of falling through the ceiling isn’t worth the savings.
- Any work involving the evaporator coil or air handler internals. The coil has sharp fins, refrigerant lines, and electrical components. This is HVAC territory.
- Duct repair or replacement. Reconnecting and properly sealing ducts requires mastic, fasteners, and the right technique to ensure the connection holds under pressure. Improper repairs leak.
- Anything involving dryer vent cleaning. The dryer vent system carries lint, which is highly combustible. Professional Dryer Vent Cleaning in Glendora uses rotary brush equipment designed specifically for vent diameter and length, and it’s worth every dollar to not have a lint fire.
Our Duct Cleaning Glendora home page has a full breakdown of the equipment and process we use if you want the details of how a professional source-removal job differs from what a homeowner can do with a shop vac.
Common Mistakes to Avoid
- Treating every odor as a cleaning problem. Musty, burning, and chemical smells implicate different components. Cleaning a system when the problem is a coil or a motor wastes your money and delays the actual fix.
- Replacing the filter without checking the rack seal. The best filter in the world does nothing if air bypasses around it. In Glendora, where summer cooling runs constantly, filter bypass means months of unfiltered attic air through your system.
- Closing too many dampers to redirect airflow. Closing one or two is fine. Closing several raises static pressure, strains the blower, and reduces system efficiency. It also increases the chance of coil freeze-up in summer.
- Assuming a dusty room means dirty ducts everywhere. A single dusty room is a localized problem. Cleaning the full system doesn’t fix a loose connection in that one branch line.
- Using a standard shop vac to clean ducts from the registers. This reaches maybe a foot or two into the duct and does nothing for the main trunk. Worse, the vacuum exhaust blows fine particles back into the room without HEPA filtration.
- Neglecting the dryer vent while focusing on air ducts. The dryer vent is the highest fire-risk element in most laundry rooms. It deserves the same professional attention as the main duct system, and it’s a service we offer alongside Air Duct Cleaning in Glendora.
- Retrying DIY fixes repeatedly before calling. We see homeowners who have spent weekends in the attic, watched YouTube tutorials, bought a borescope, and still haven’t resolved the issue. There’s no shame in a professional diagnosis, and it’s usually cheaper than cumulative DIY attempts.
When to Call a Professional
Call when you’ve done the basic checks and the problem persists. Be ready to describe what you’re seeing specifically: “one bedroom on the south side has weak airflow and dust buildup, and the smell is musty when the AC runs.” That description tells us far more than “my ducts are dirty.”
Call when you notice a burning smell (after shutting the system off), when you see visible mold growth or excessive moisture inside any register boot, when pest activity is confirmed in the vents, when airflow in a room has been weak for months despite damper checks, or when you’ve had construction work and dust is still appearing weeks later. Duct Cleaning Glendora offers free estimates in Glendora, and our technicians will scope your system with a camera before recommending anything. Call (833) 620-4169 to schedule an inspection.
Frequently Asked Questions
Musty odor that returns after cleaning typically comes from the evaporator coil, drain pan, or wet duct insulation, not from the ducts themselves. The coil sits inside the air handler and condenses moisture during cooling. If the drain clogs or the pan cracks, water pools and grows odor-causing microbial material. Have an HVAC technician inspect the coil, or ask your duct professional to check for wet insulation sections during the next visit. If the odor persists, call (833) 620-4169 and we’ll help you identify the source.
Remove a supply register and look inside the boot and as far down the duct as you can see with a flashlight. If you see a coating of dust and debris on the duct walls beyond the first inch or two, the system has accumulated contamination. If the duct walls look clean but dust is present only at the register face, the issue may be filter bypass or room-level dust from other sources. A camera inspection through the duct confirms what’s inside.
A single dusty room usually traces back to a specific duct connection issue, not whole-system contamination. The most common causes are a loose supply fitting, a hole in the branch duct, or a return path that pulls from an unsealed wall cavity. Air leaking at any of these points carries insulation particles and attic dust directly into that room. A targeted inspection of that room’s duct run will locate the leak or disconnection.
Yes. Glendora’s location near the foothills means dry, dusty conditions for much of the year, and when the Santa Ana winds blow, fine particulate gets pulled into homes through leaks and returns. If your duct system is holding accumulated dust, pollen, and pet dander, the blower recirculates those particles through your living space continuously. Professional source-removal cleaning with HEPA-filtered negative air extraction removes the accumulated material rather than recirculating it.
Every 3 to 5 years is a reasonable interval for most Glendora homes, though several factors shorten that timeline: pets that shed heavily, recent construction or renovation, a history of filter neglect, or a home near the foothills that accumulates fine dust quickly. If you can see visible dust coating inside the ducts when you remove a register, it’s time. Some households go 7 to 10 years without needing a cleaning, while others need one every 2 years.
Source-removal cleaning uses mechanical agitation (typically a rotary brush) to physically scrub the duct walls while a HEPA-filtered negative-air vacuum extracts the loosened material before it enters your living space. A regular cleaning often involves nothing more than a vacuum at one access point, which pulls whatever is loose near the opening but leaves bonded debris behind. We use Rotobrush rotary brush systems paired with Nikro HEPA negative-air vacuums precisely because the combination does what a single vacuum pass cannot.
The Bottom Line
Duct problems are diagnosable if you read the symptoms correctly. Odor that returns after cleaning is a coil or insulation issue, not dirty ducts. Airflow problems in one room trace back to a single damper, connection, or crushed section, not systemic contamination. Debris at registers means filter bypass as often as it means dirty ducts. And a room that’s persistently dusty usually has a leak or loose fitting pulling unfiltered air from the wall cavity. The right response depends on the root cause: cleaning for accumulated contamination, repair for mechanical failures, and HVAC service for coil or blower problems. If you’re in Glendora and want a straight answer about what’s happening in your duct system, call (833) 620-4169 for a free estimate. We’ll show you what we find, explain what it means, and only recommend the work you actually need.
Written by the team at Duct Cleaning Glendora, serving Glendora since 2014.
See the difference
 Before
 After
 Before
 After
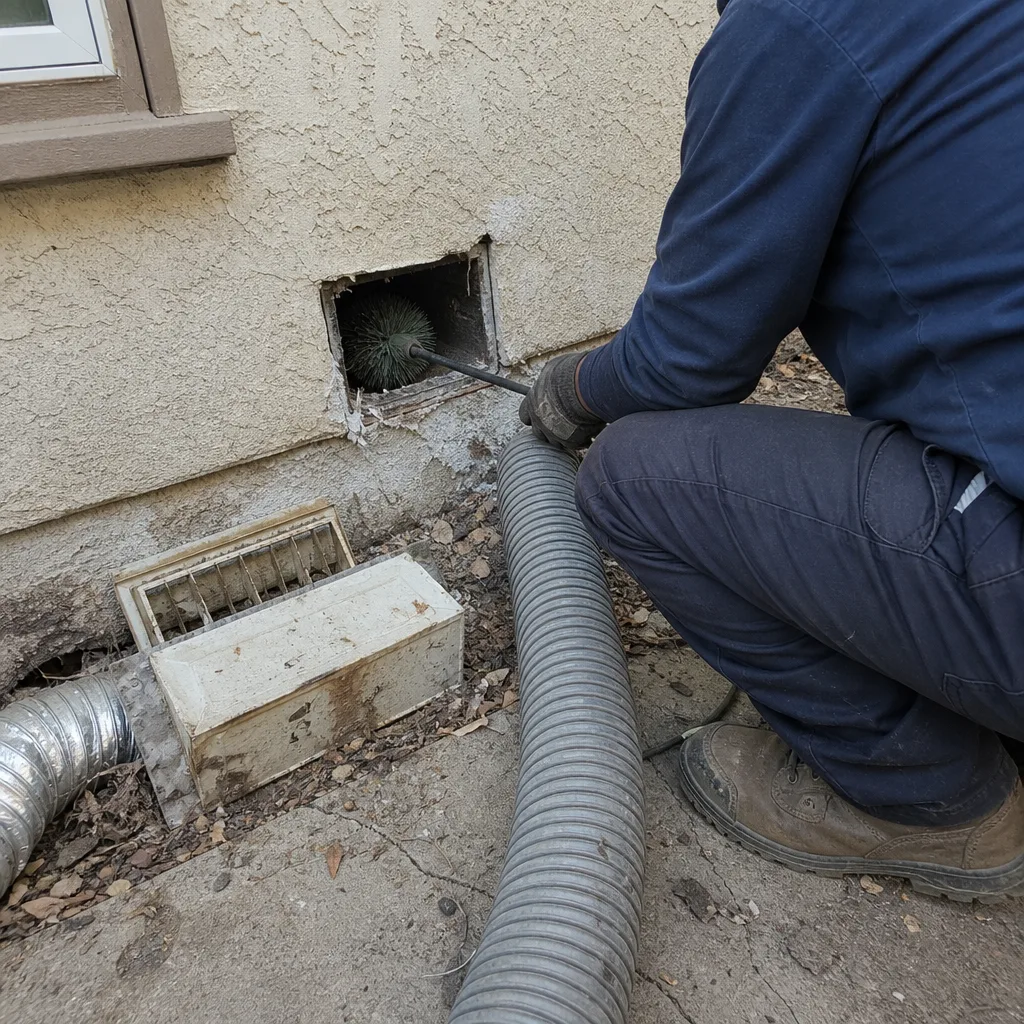 Before
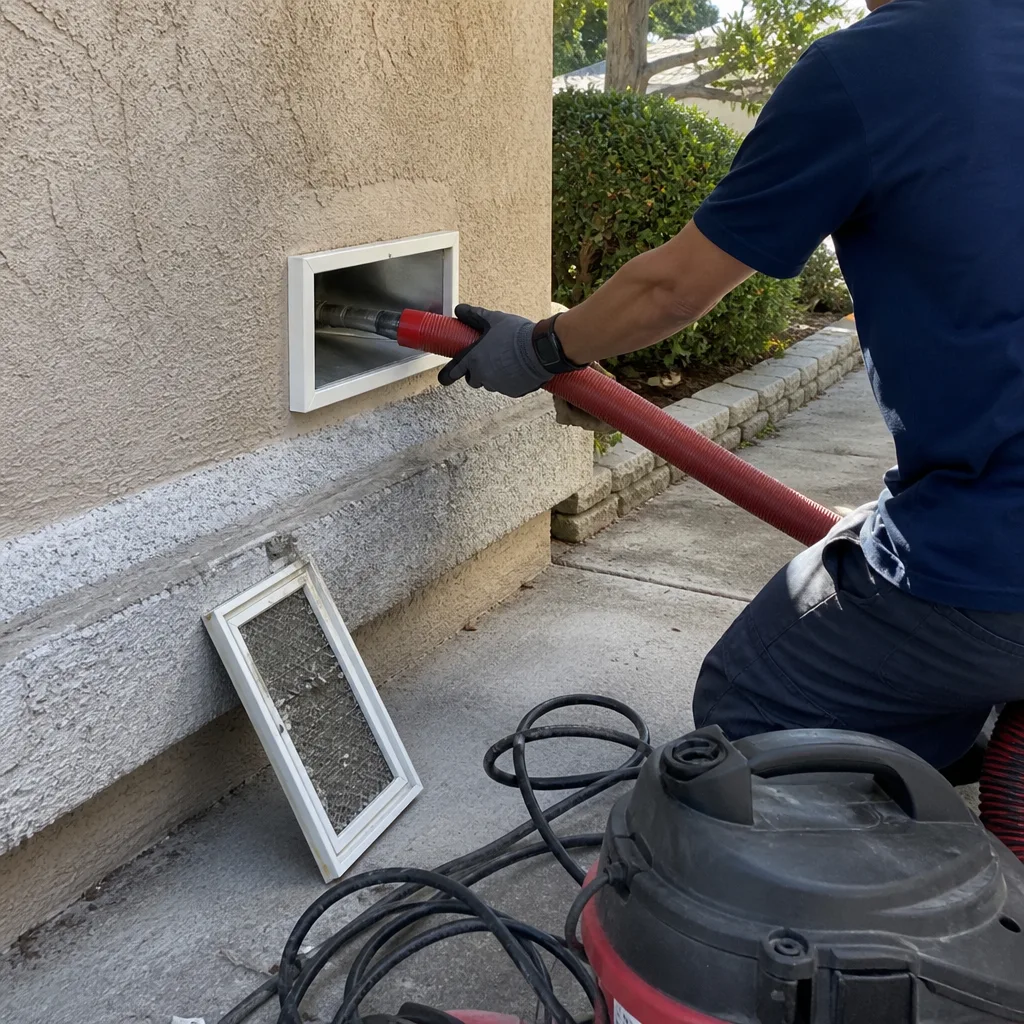 After